12 Architectural Rendering Tips for More Realistic Images

By Hudson GrayLast reviewed
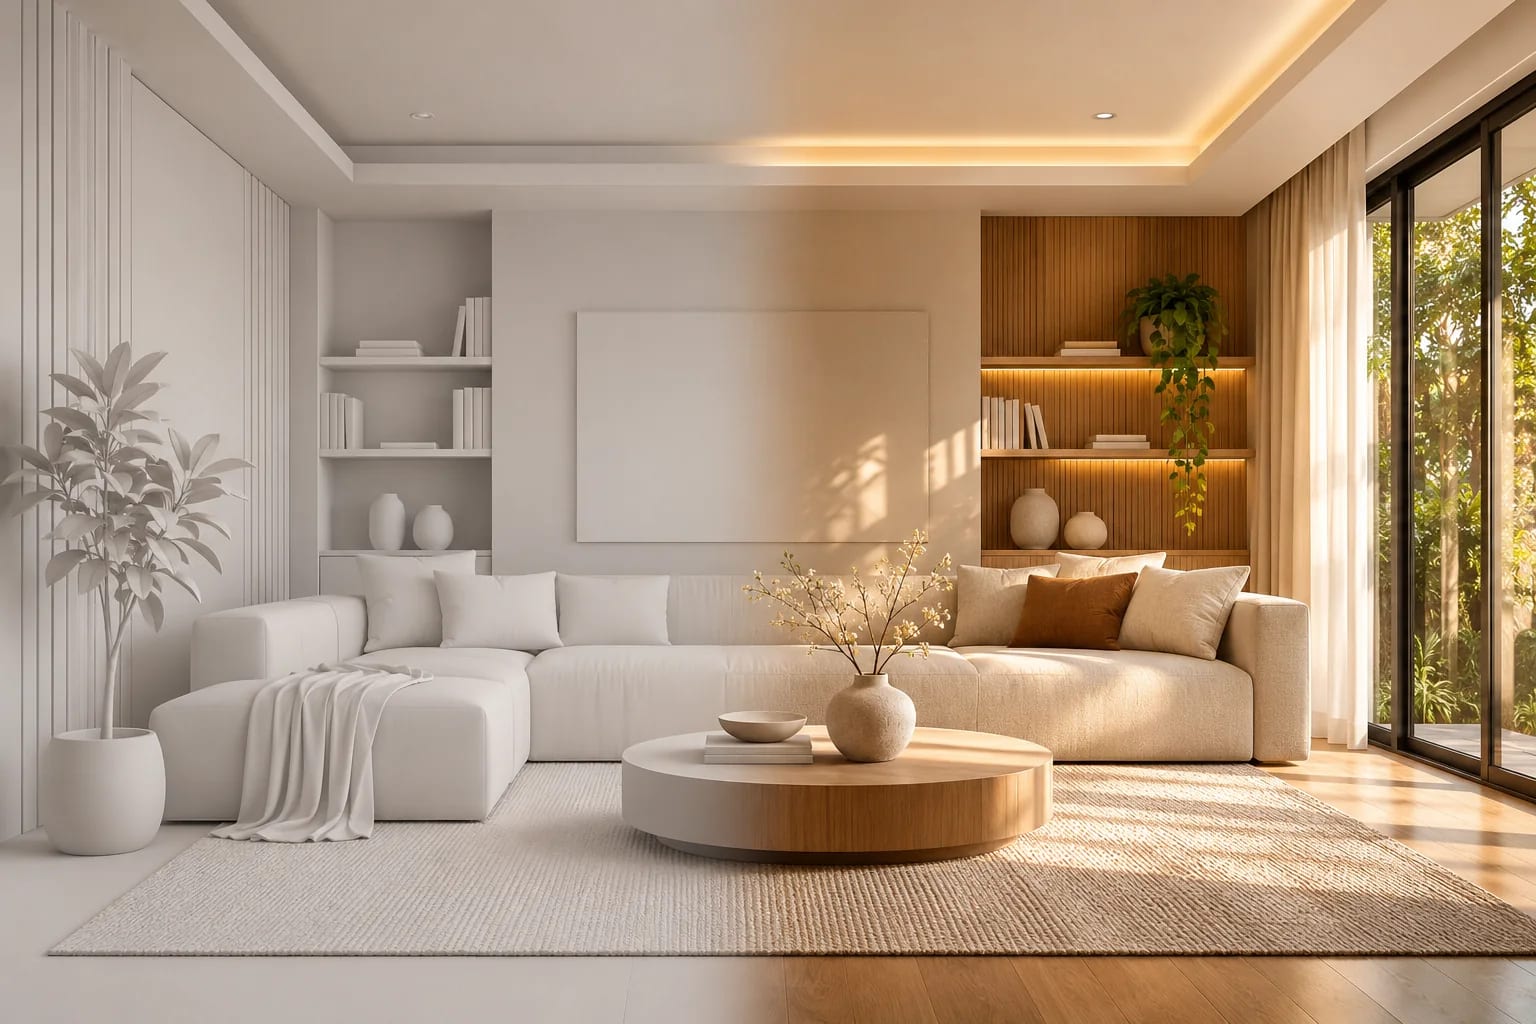
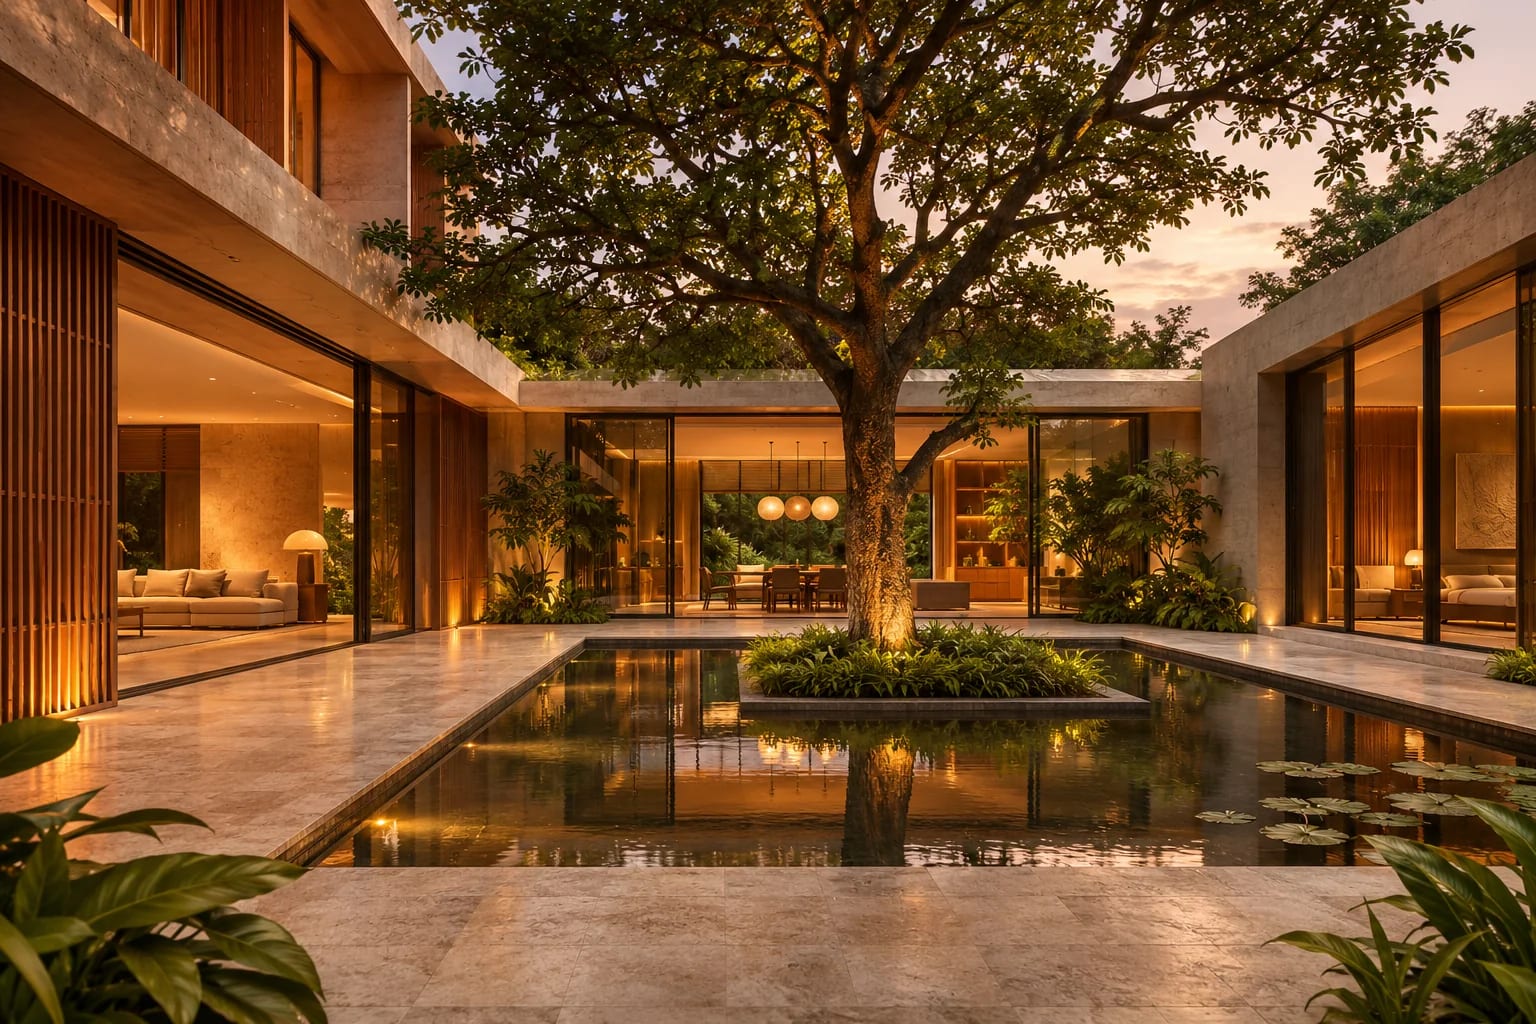
Realism has less to do with your renderer than most people think. These architectural rendering tips cover the habits that make images believable in any software: composition, light, materials, imperfections and post-production. Each one will improve an image faster than new software will.
Composition and Camera
Most realism starts before you touch a light. Frame the image the way an architectural photographer would.
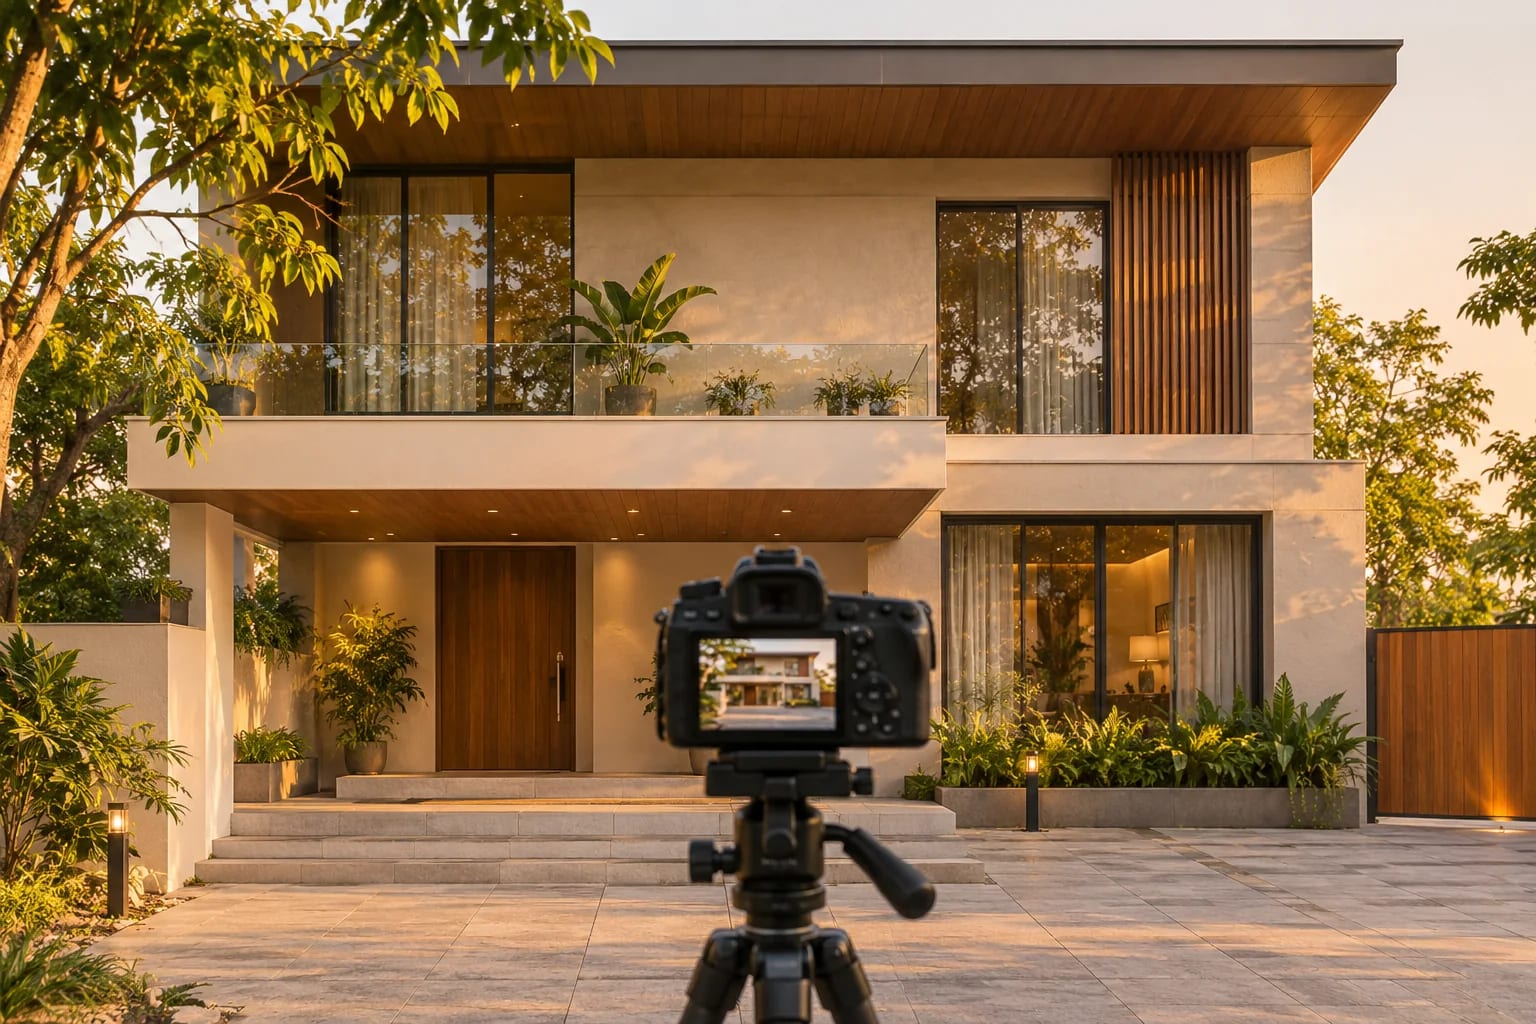
1. Start with a photograph in mind
Find a real architectural photo you admire and study its camera height, lens and light. Trying to match a reference is the quickest way to improve.
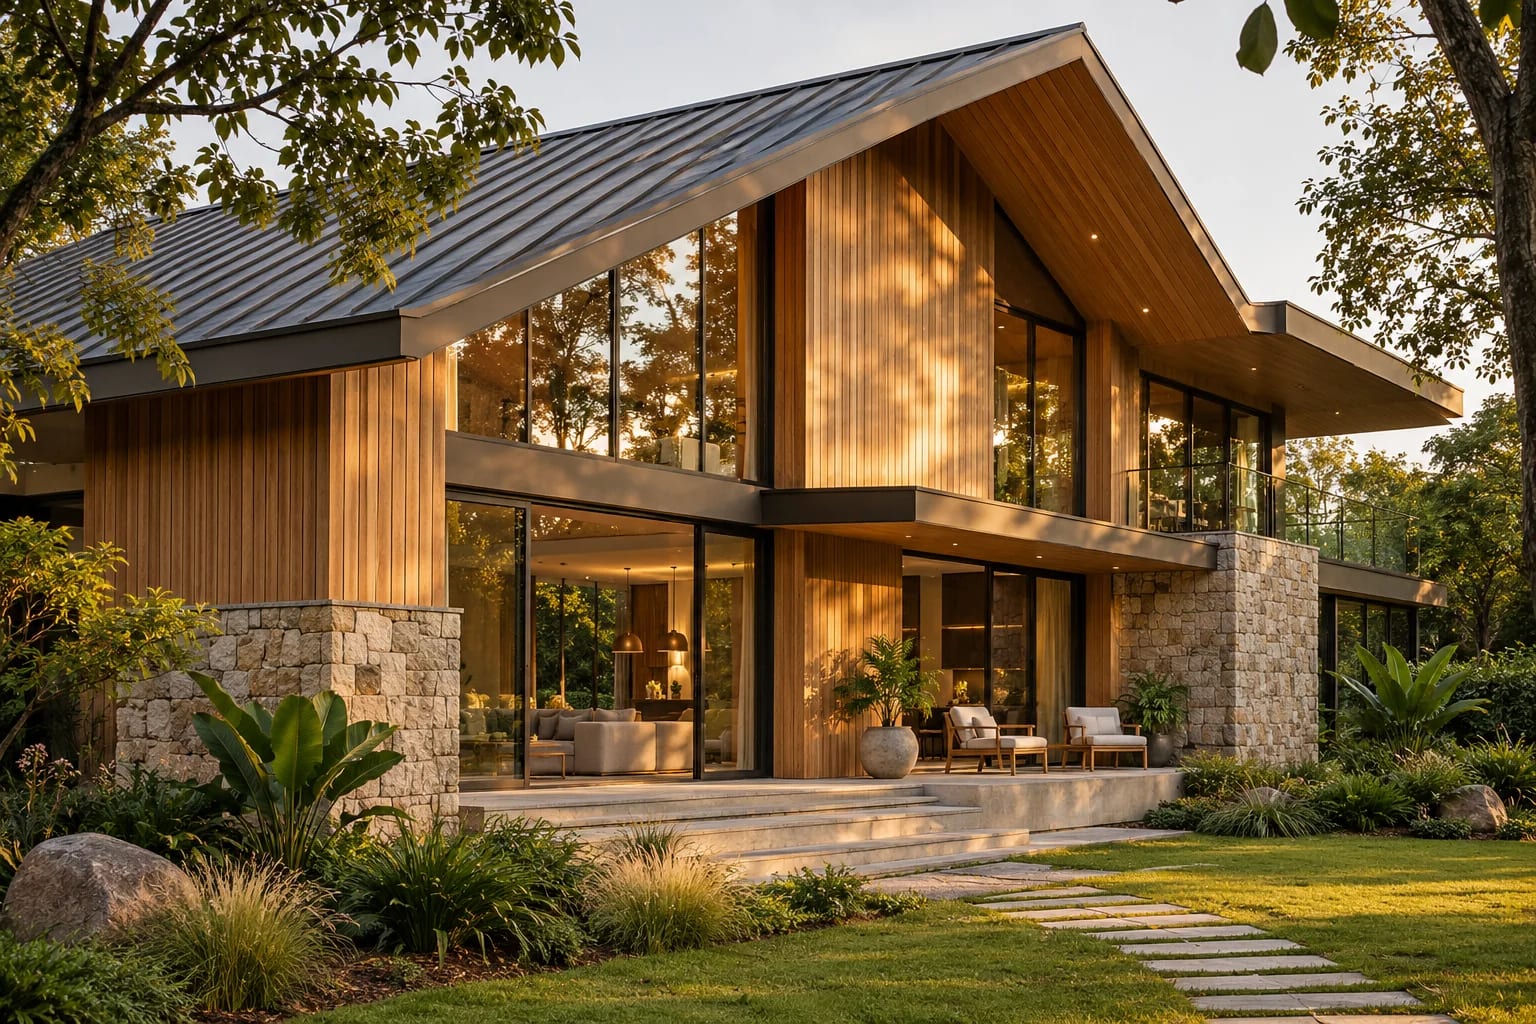
2. Keep verticals straight
Architectural photographers correct converging lines, and viewers expect that look. Use a two-point perspective or a shift lens setting.
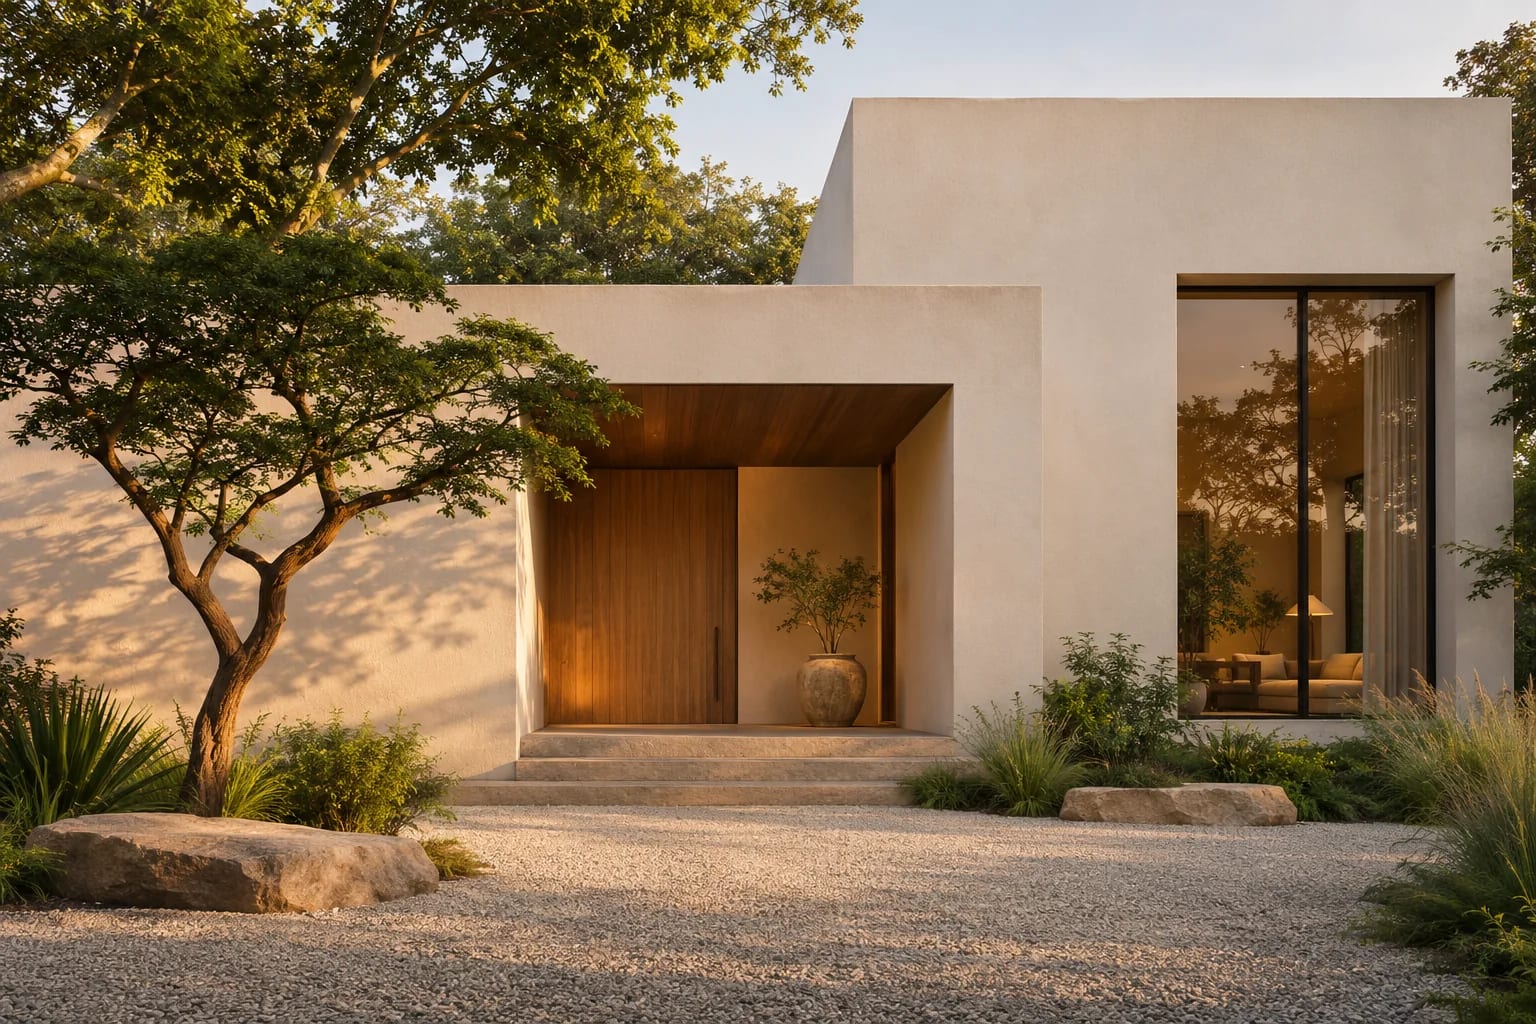
3. Put the camera at eye level
A height of around 5 feet feels natural. Dramatic high angles can make a space look like a model.
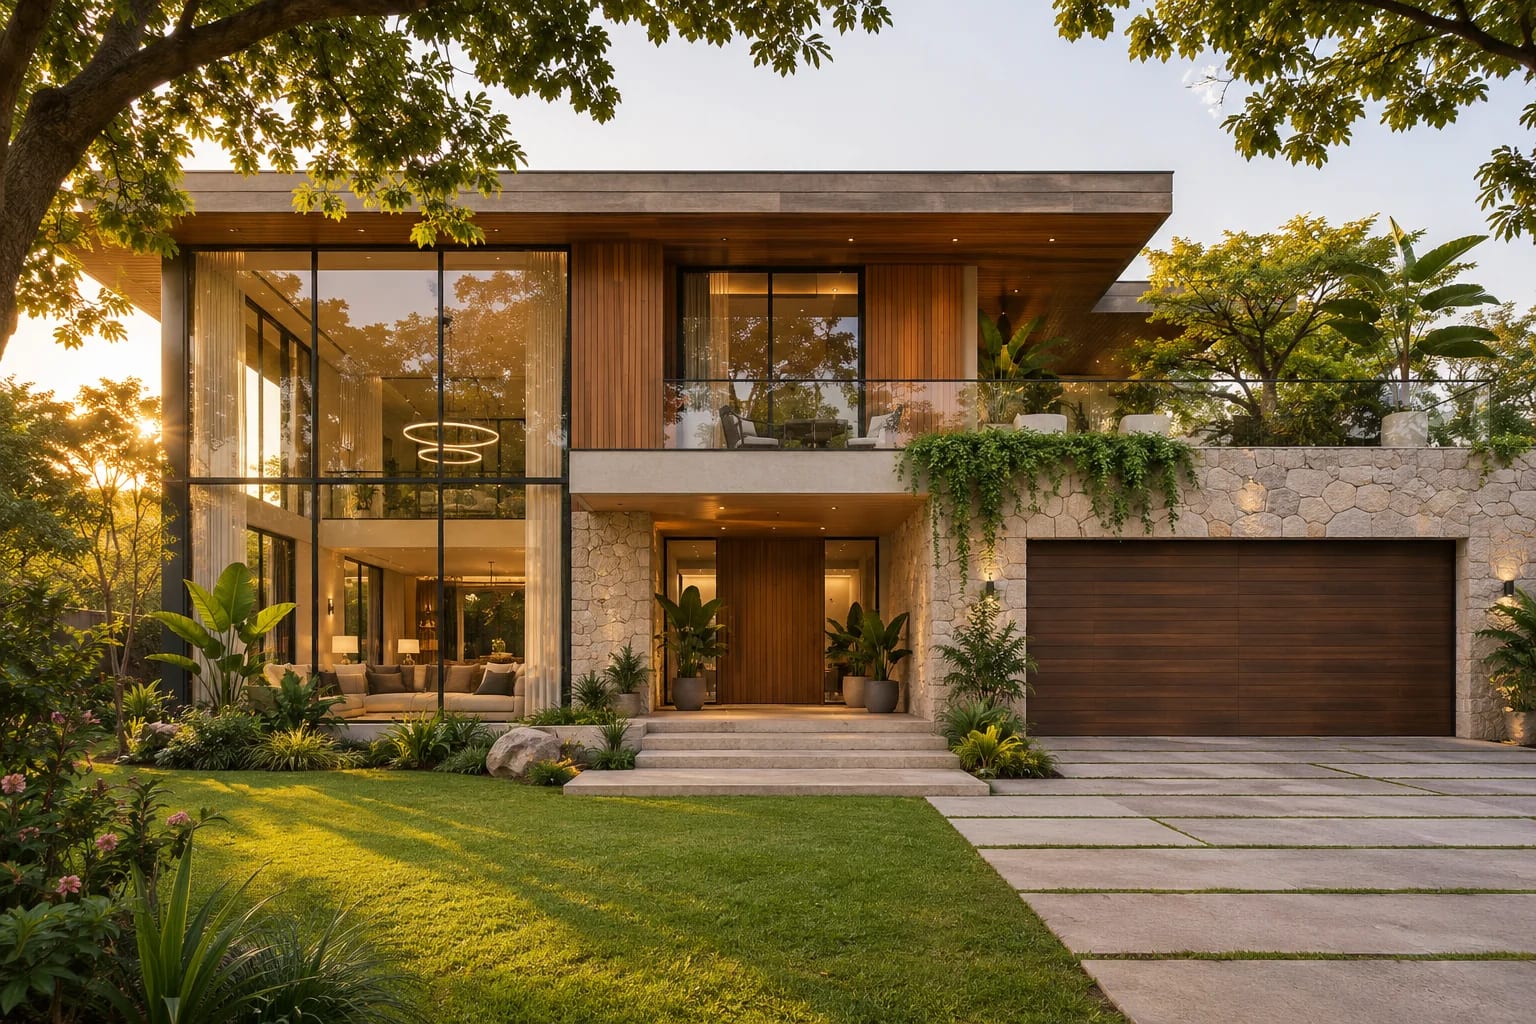
Light
Light does more for realism than any material. Decide where it comes from, then keep it believable.
4. Choose one main light
Decide where the light is coming from and build around it. Low sun gives long shadows and warmth, and an overcast sky suits calm, even interiors.
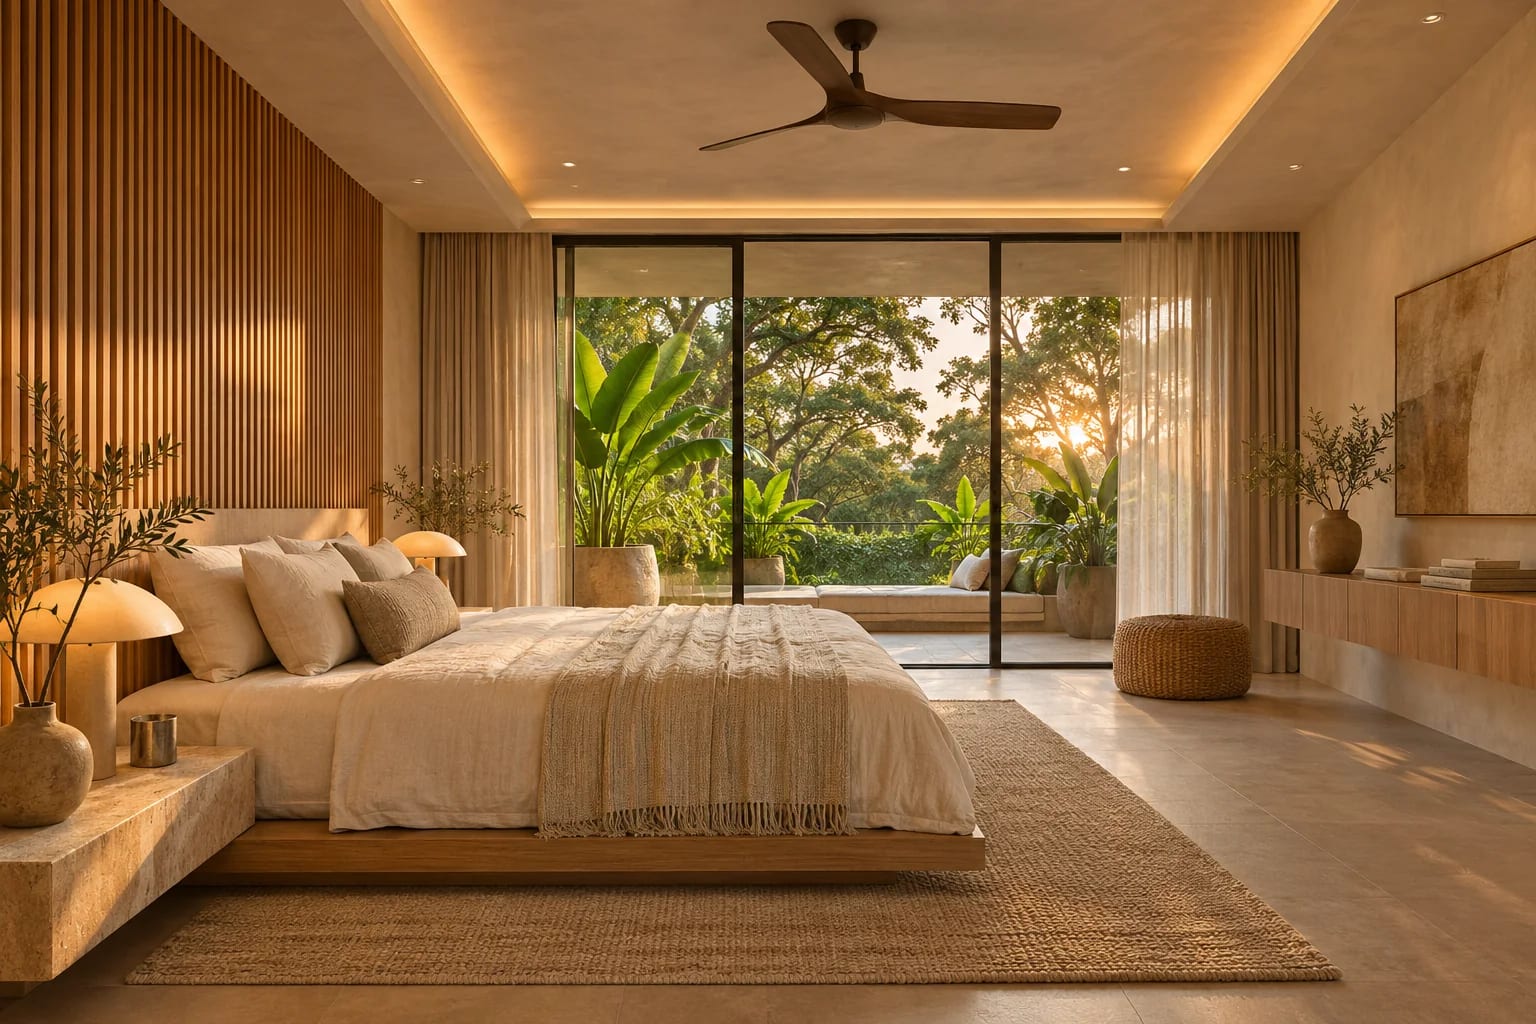
5. Use HDRI skies
Image-based skies provide realistic light and reflections in one step. Poly Haven has a free CC0 collection.
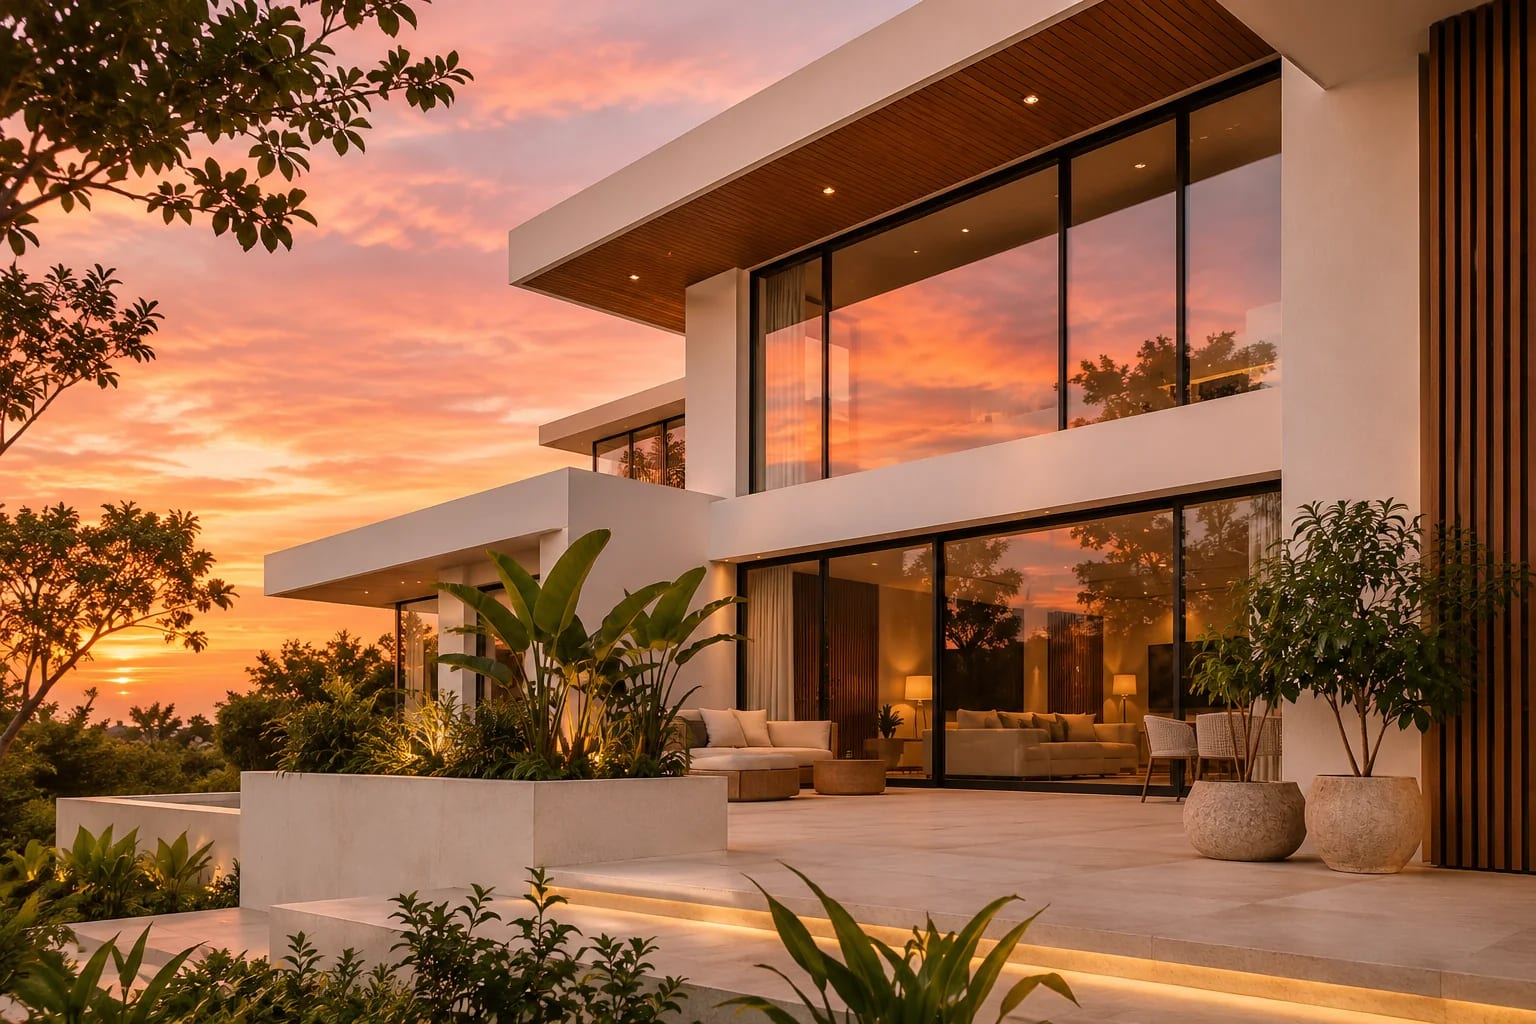
Materials and Detail: Architectural Rendering Tips for Realism
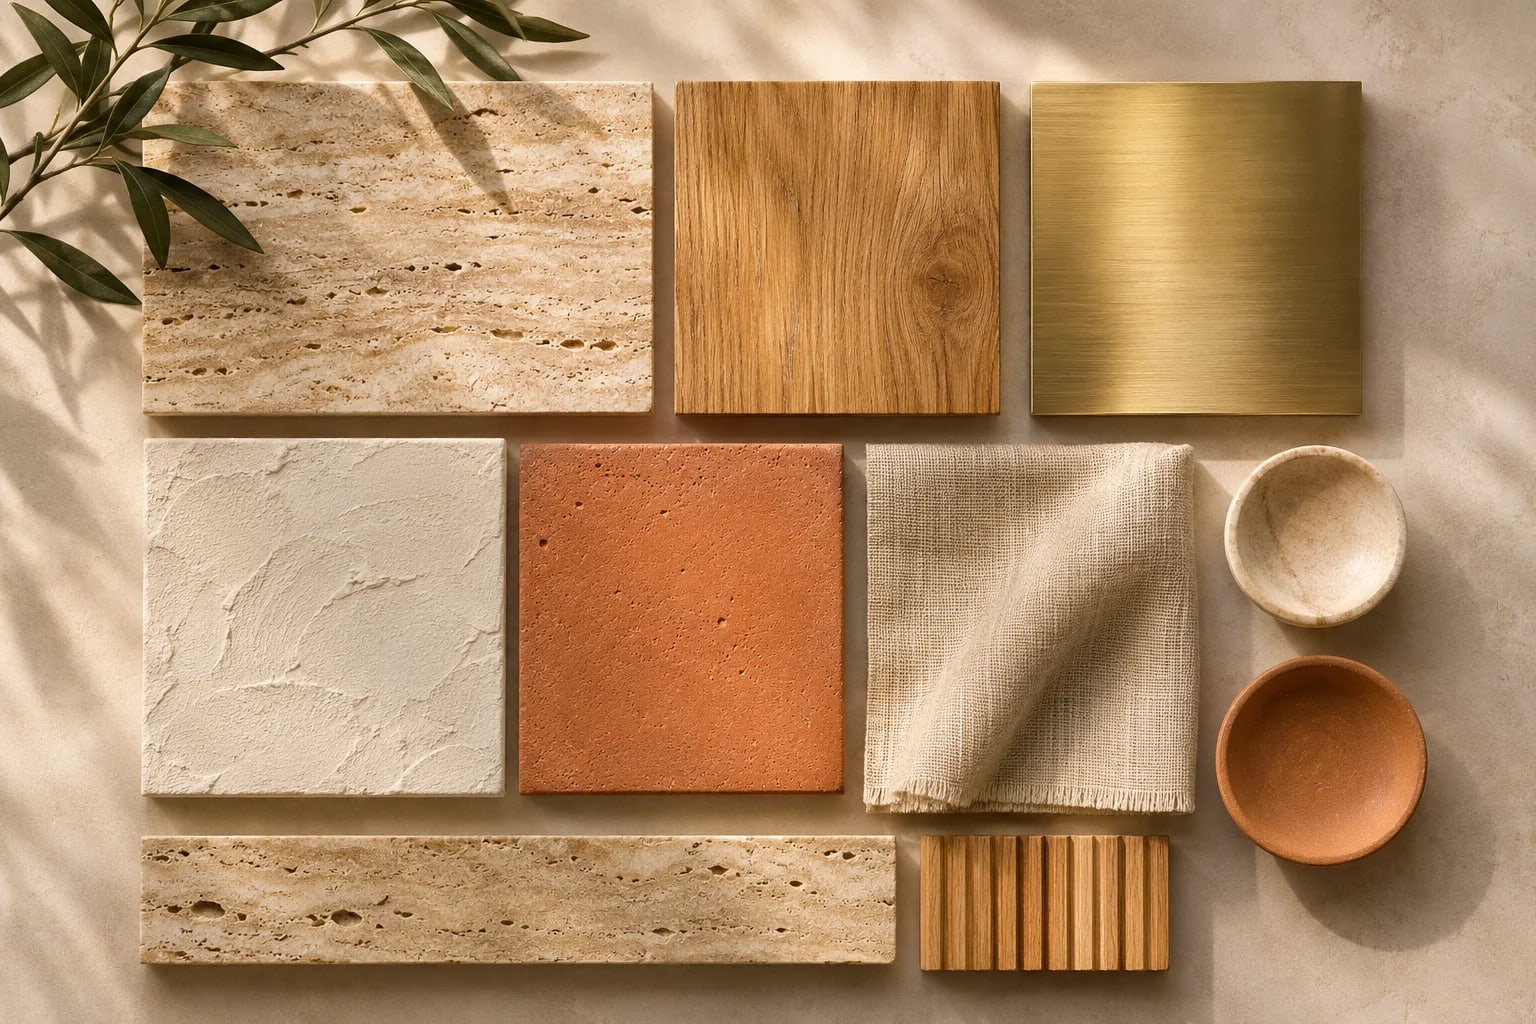
Real surfaces are never perfect. Small flaws and correct scale are what convince the eye.
6. Add imperfections
Real surfaces have variation. Slight roughness changes, worn edges and uneven tile lines remove the sterile look of computer graphics.
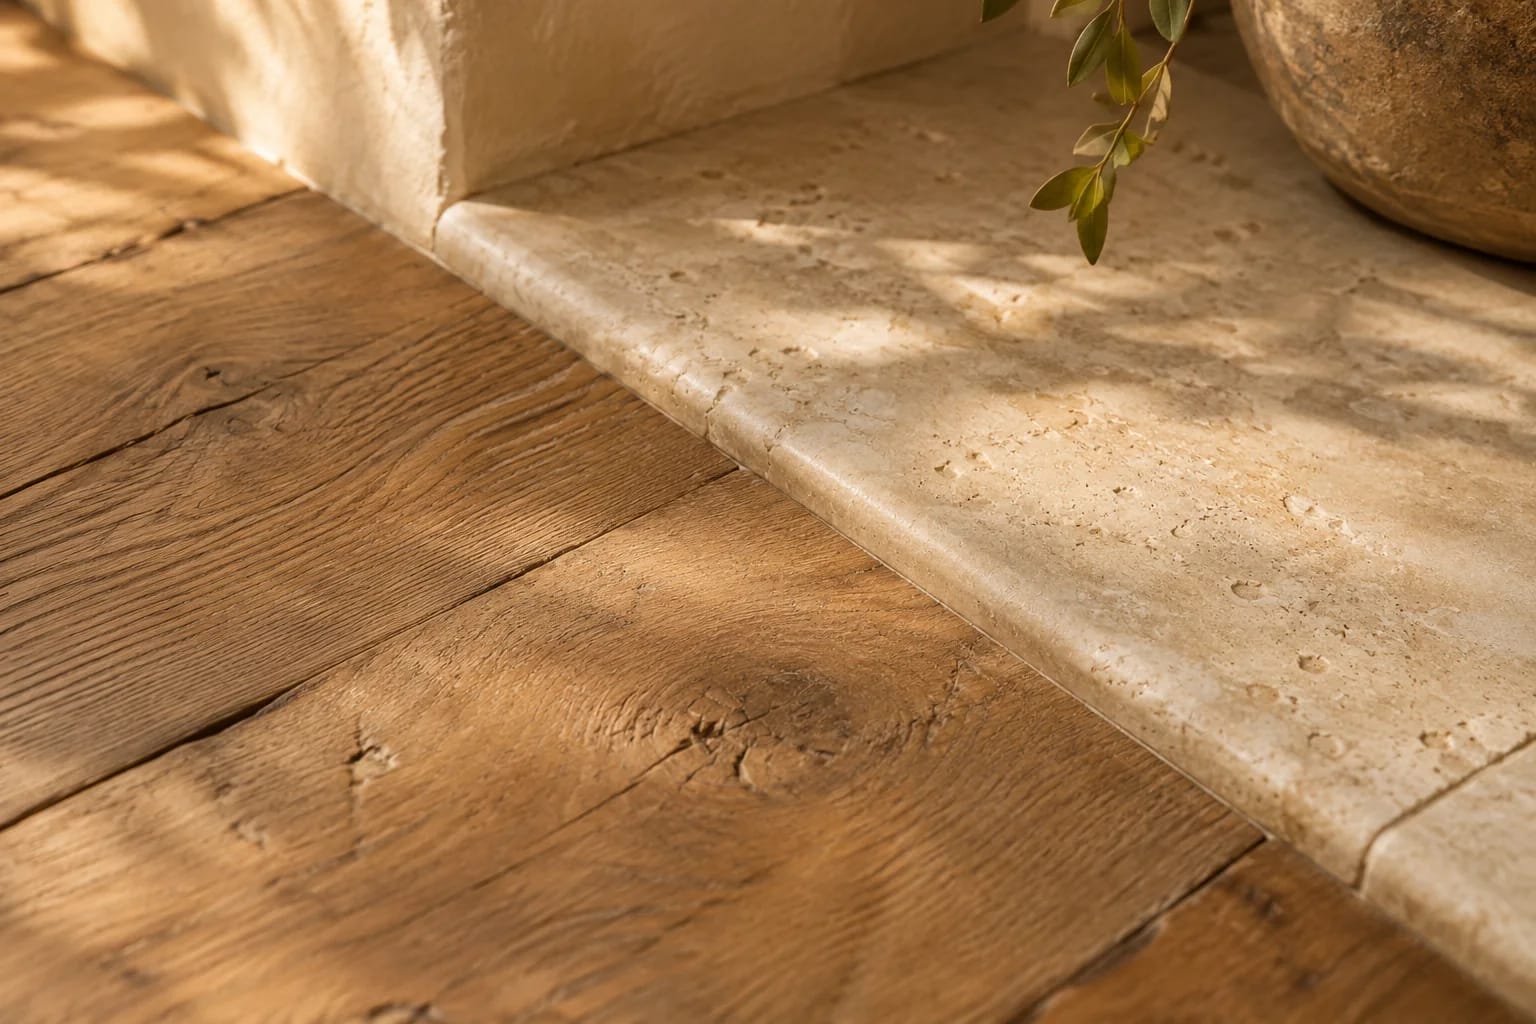
7. Bevel your edges
Perfectly sharp edges don't exist in the real world. Tiny bevels catch highlights and instantly add realism.
8. Get material scale right
A brick or floorboard at the wrong size gives an image away immediately. Check textures against real dimensions.
Scene Dressing and Finishing
A believable scene looks lived in and is finished with a light touch.
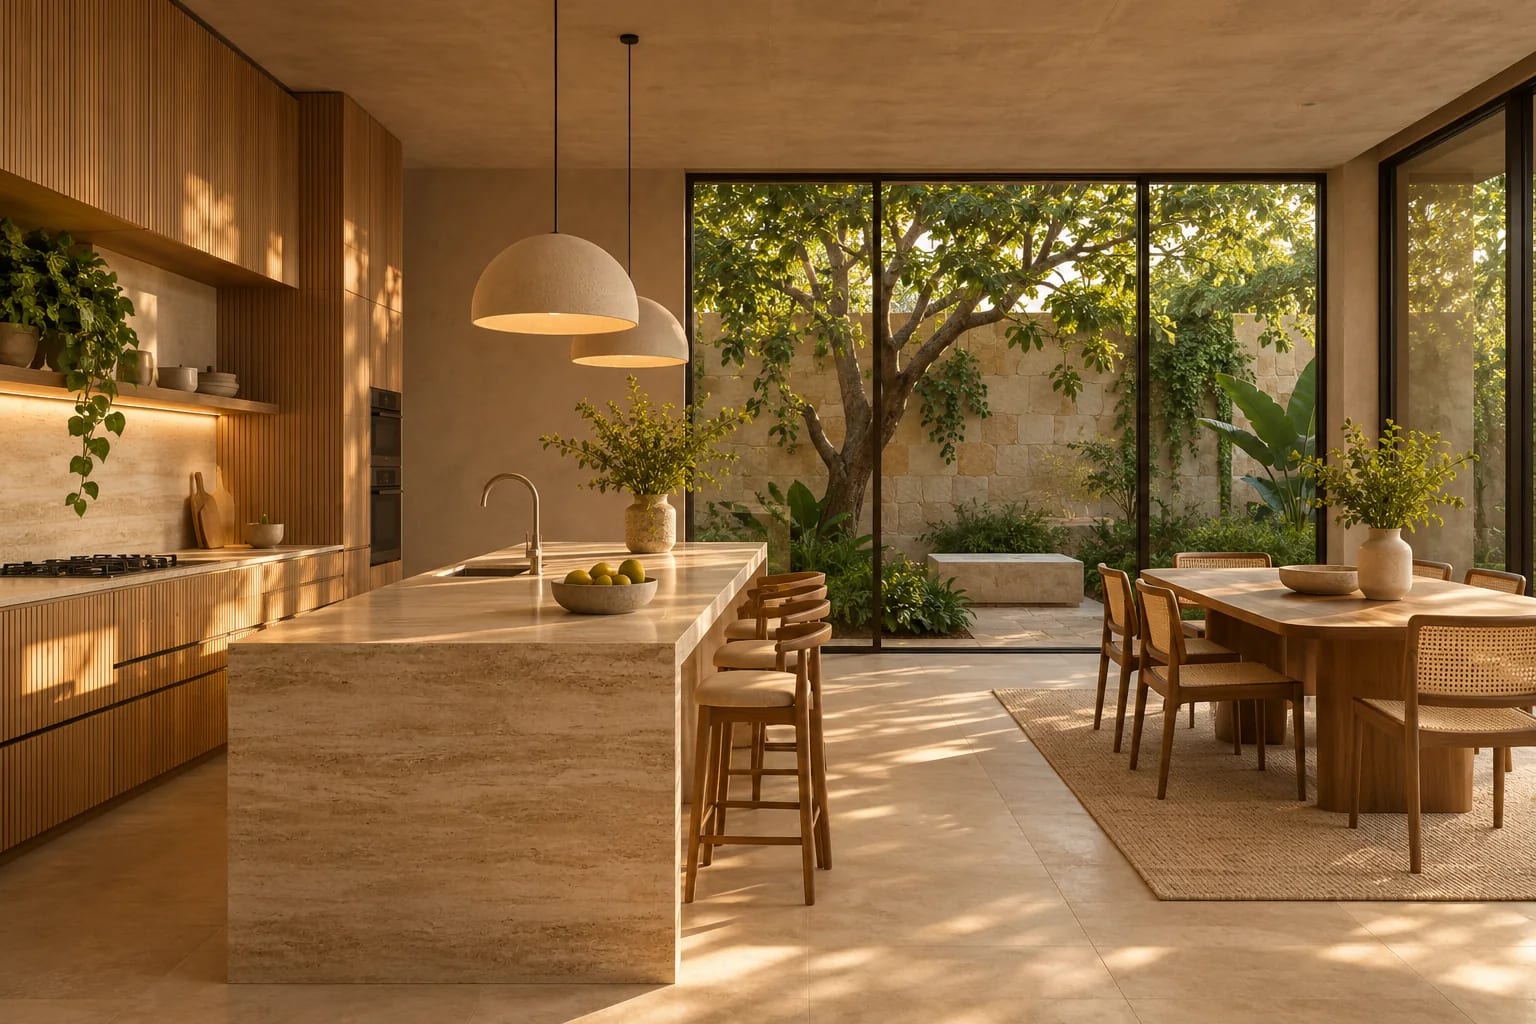
9. Dress the scene
Add things people actually own: a book, a throw, a coffee cup. Quality 3D assets help, but don't clutter the room.
10. Use vegetation carefully
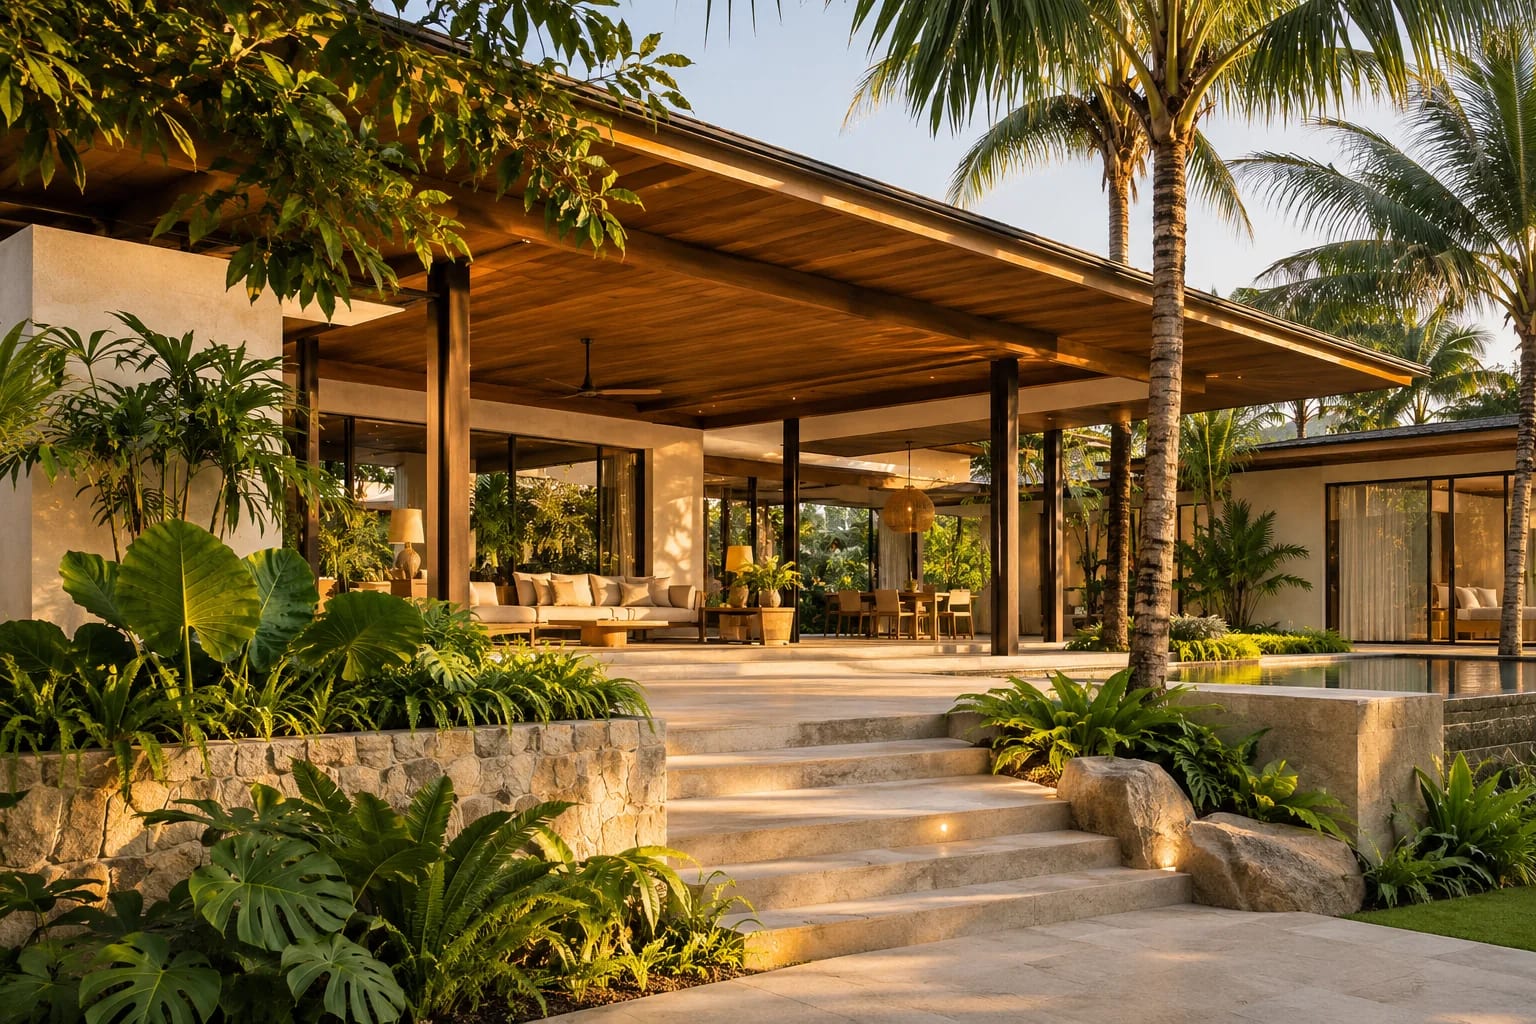
Plants add life, but low-quality trees can ruin an exterior. Choose fewer, better models, and vary their scale and rotation.
11. Render for the edit
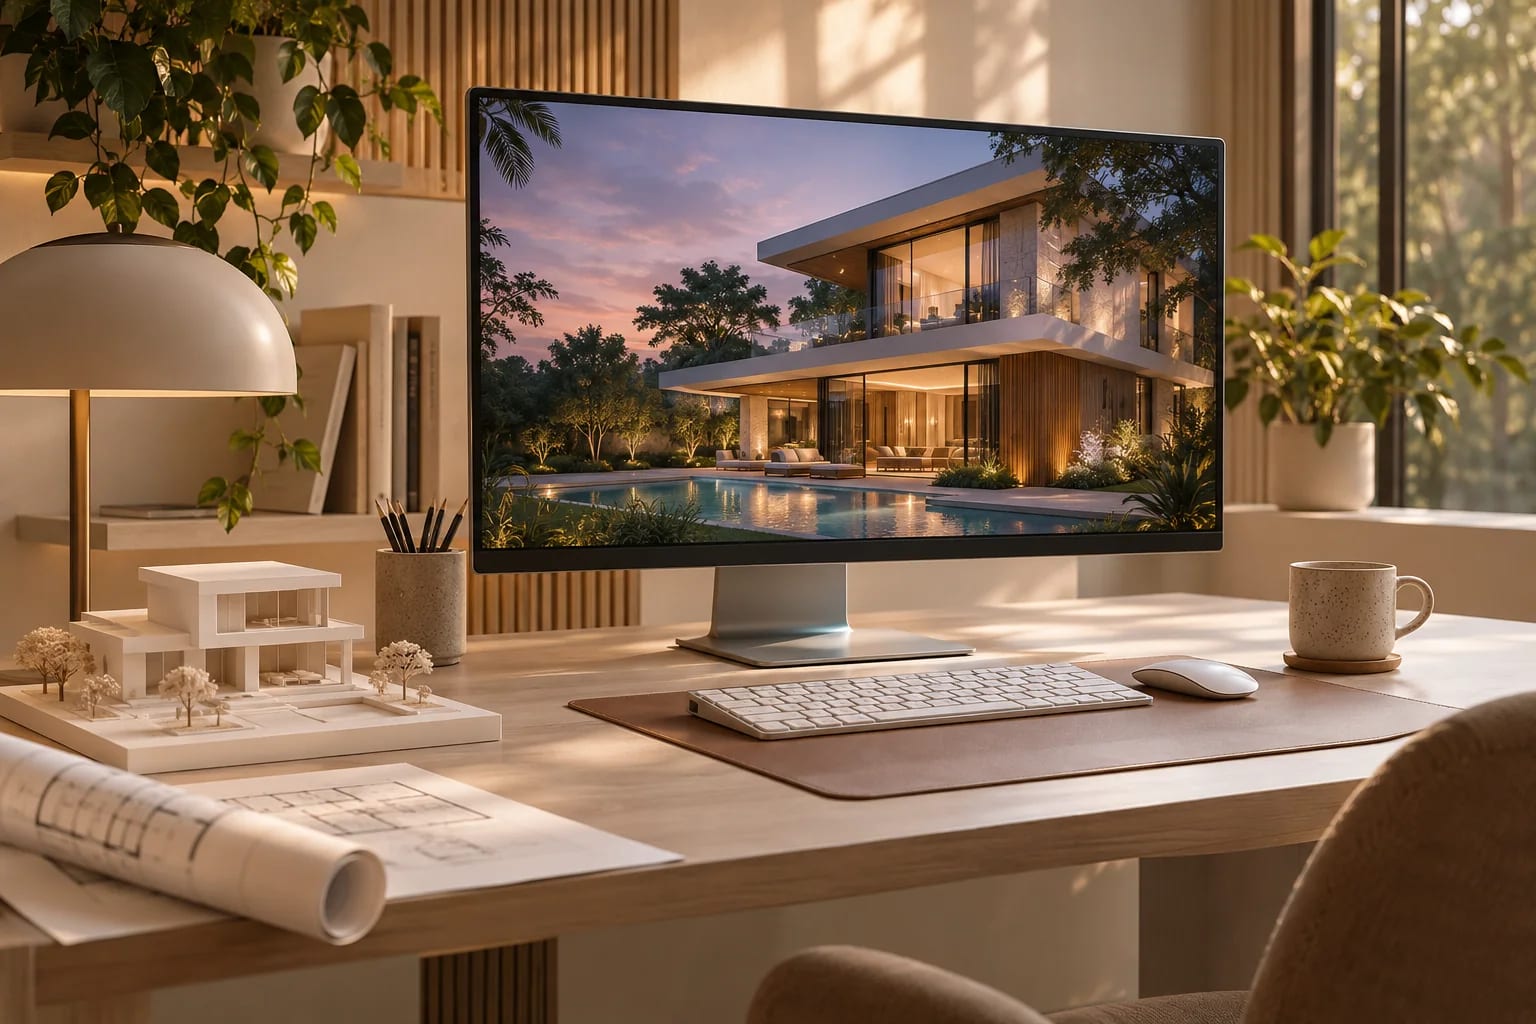
A final touch in post-production is normal. Small adjustments to contrast, color and glare are often what finishes an image.
12. Critique from a distance
Step away, look at a thumbnail and compare it side by side with your reference. Composition problems stand out at small sizes.
Common mistakes to avoid
Watch for these before you send an image:
- Converging verticals from a tilted camera.
- Perfectly sharp edges and spotless materials.
- Brick, tile or wood at the wrong scale.
- Too many light sources competing.
- Low-quality trees and plants in the foreground.
Common Questions
Why do my renders look fake?
The most common causes are flat lighting, perfectly clean materials, sharp edges, incorrect texture scale and low-quality plants.
Which software gives the most realistic renders?
Good results are possible in most modern renderers. Lighting and materials usually matter more than the specific tool.
Why do my renders look fake?
The usual causes are perfectly sharp edges, flawless materials, wrong texture scale, flat lighting and converging verticals. Fix those first: add small bevels, roughness variation and a single strong light, and keep verticals straight.
What camera height is best for architectural renders?
Around eye level, roughly 5 feet, feels most natural for interiors and street views. Higher viewpoints suit site plans and aerials but can make rooms feel smaller.
Do I need an HDRI for rendering?
Not always, but an HDRI sky gives realistic light and reflections in one step, which makes exteriors and daylit interiors much easier to get right. Free CC0 HDRIs are available from sites such as Poly Haven.
Practice Beats Software
Better renders come from better habits: a photographic reference, straight verticals, one strong light, and small imperfections. Apply them in whatever tool you use, and critique each image from a distance before you send it.
Ready to pick or upgrade your renderer? Start with our ranking.
Compare archviz softwareHow we made this guide
This guide reflects general practice and may not match every software version, so check against your own. We leave out prices because they change often, so please confirm pricing, features and license terms with the vendor. Product names belong to their owners. Suggest a correction or a product, or learn about labeled sponsorships.