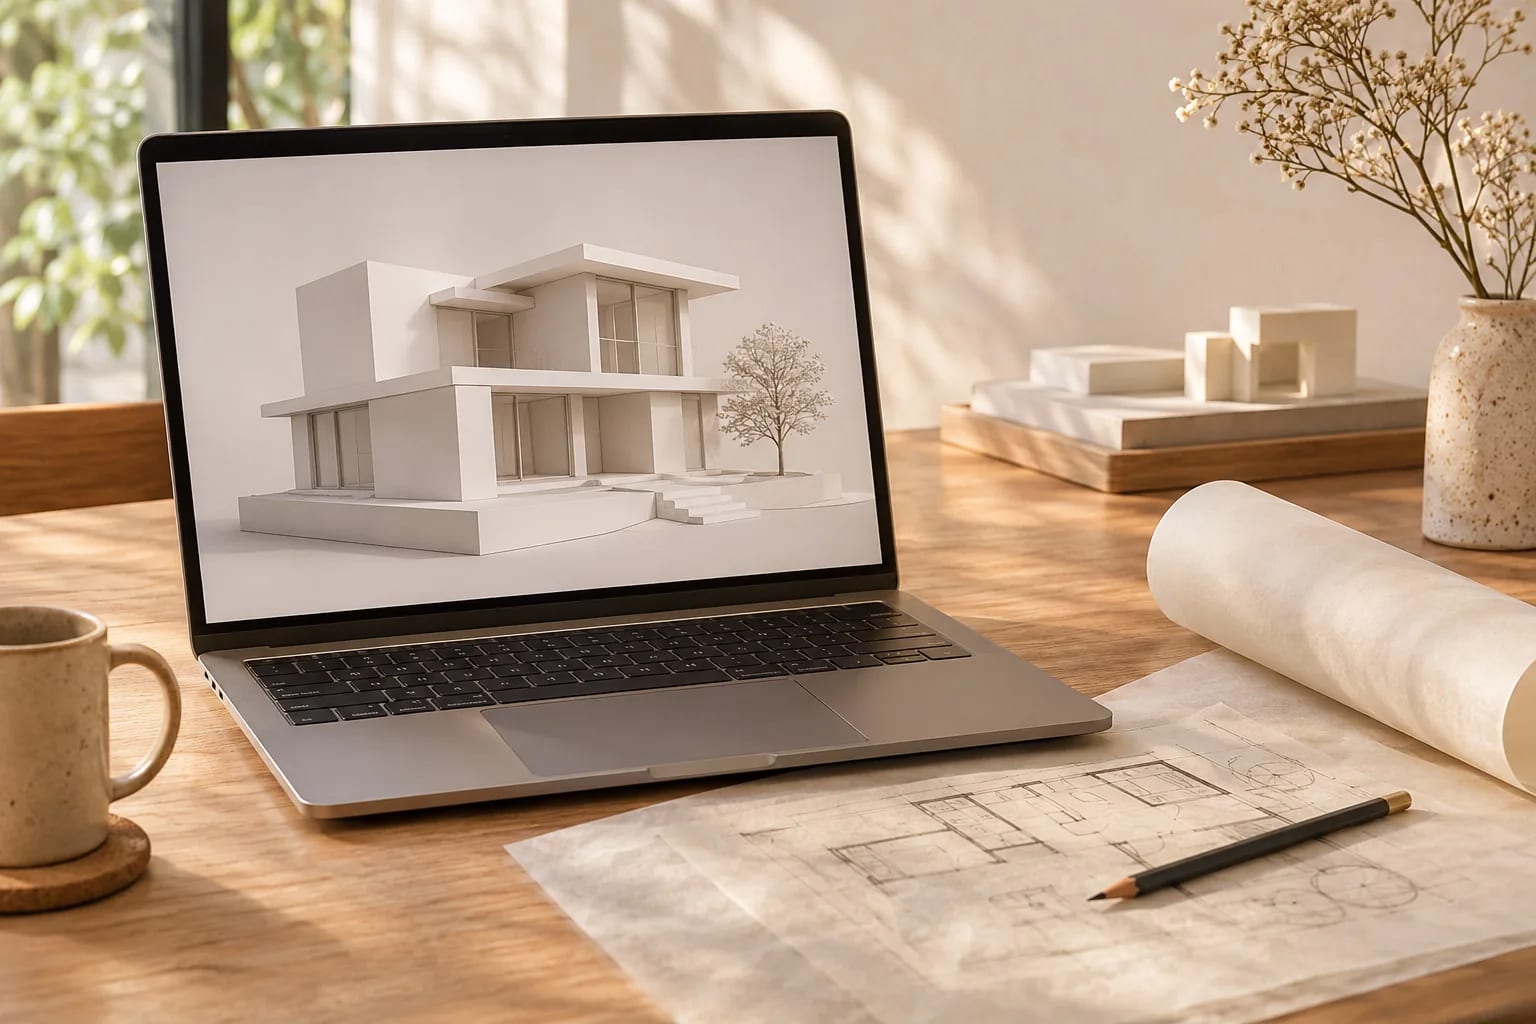
How to Use MCP to Model Your Home From an AI Image in Blender

By Hudson GrayLast reviewed
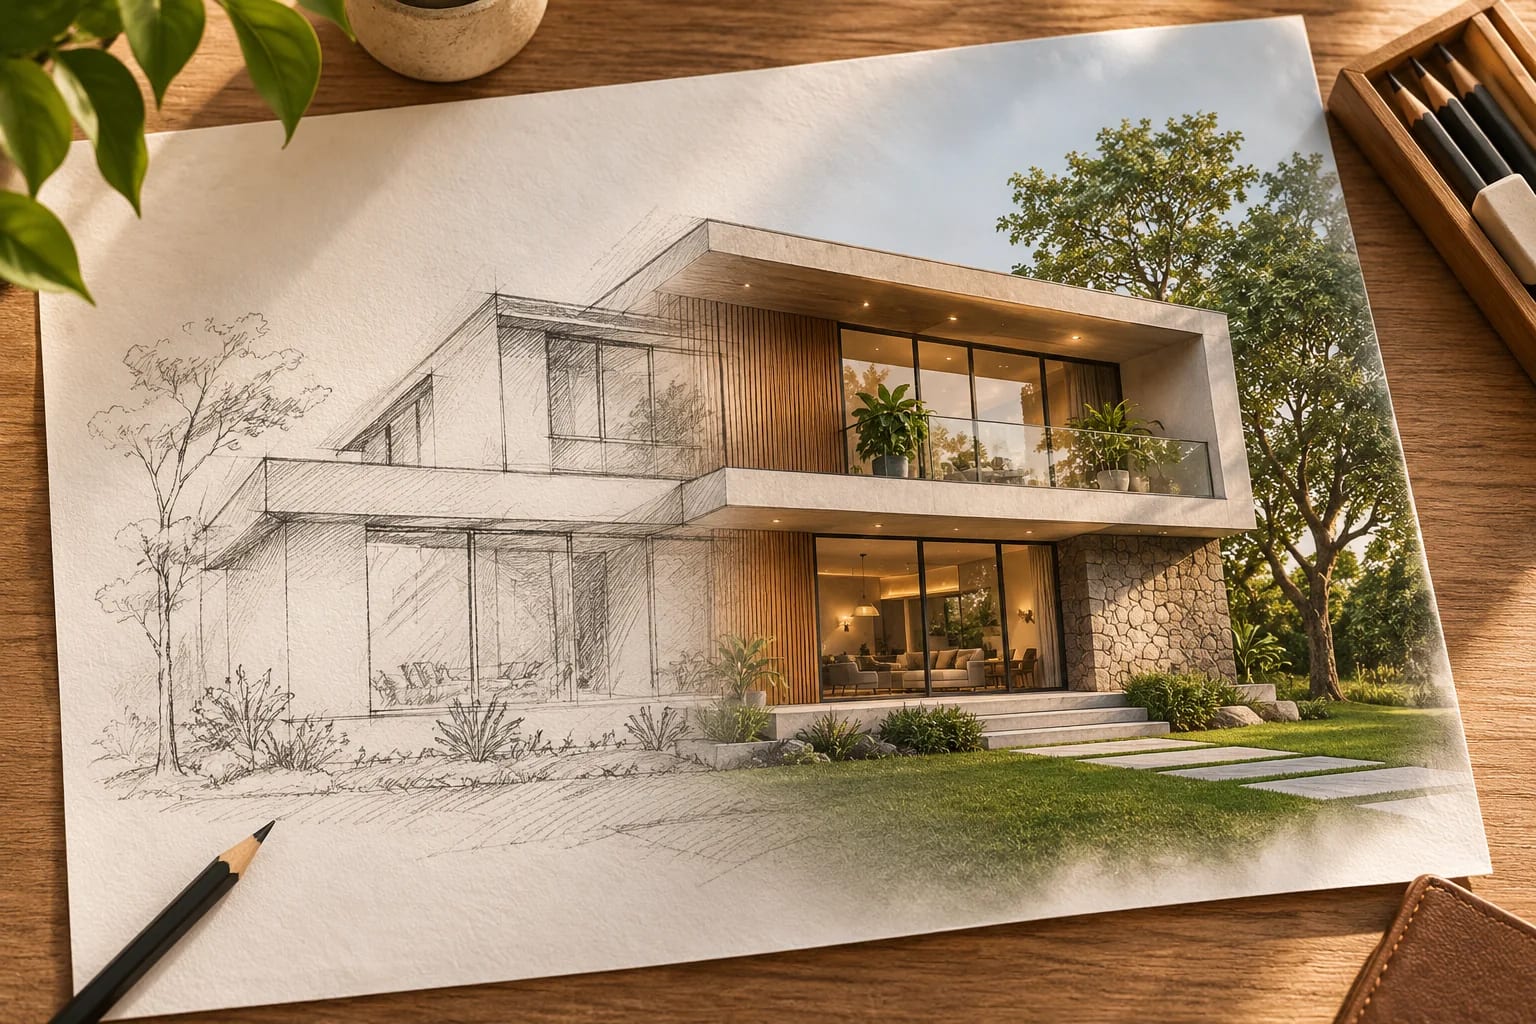
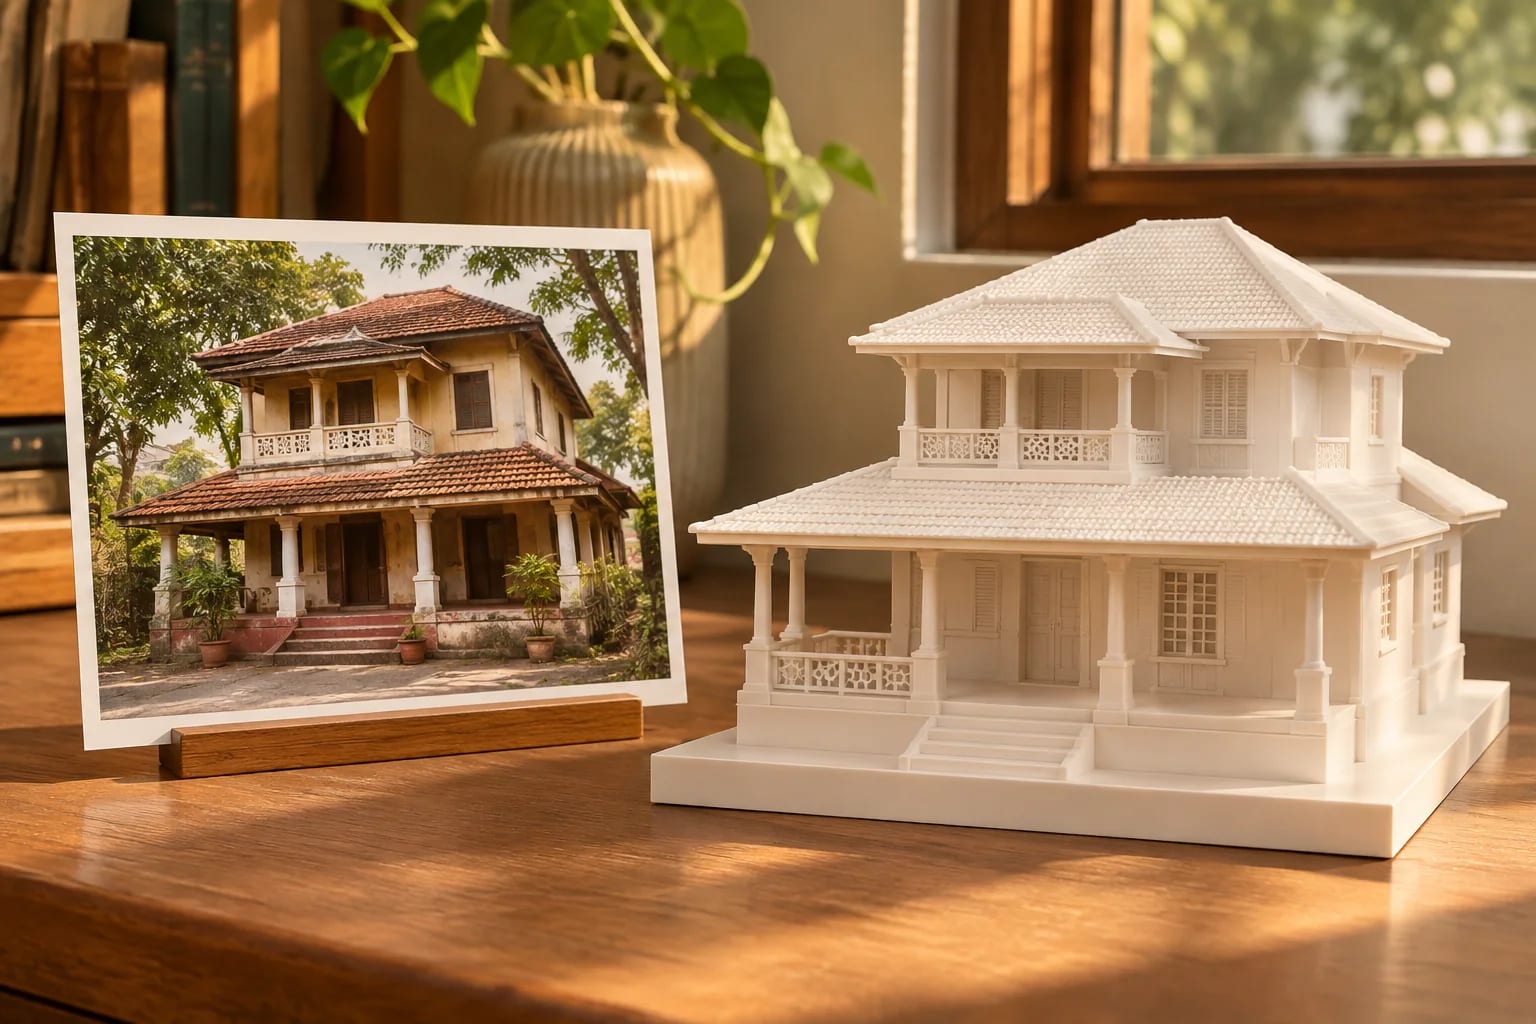
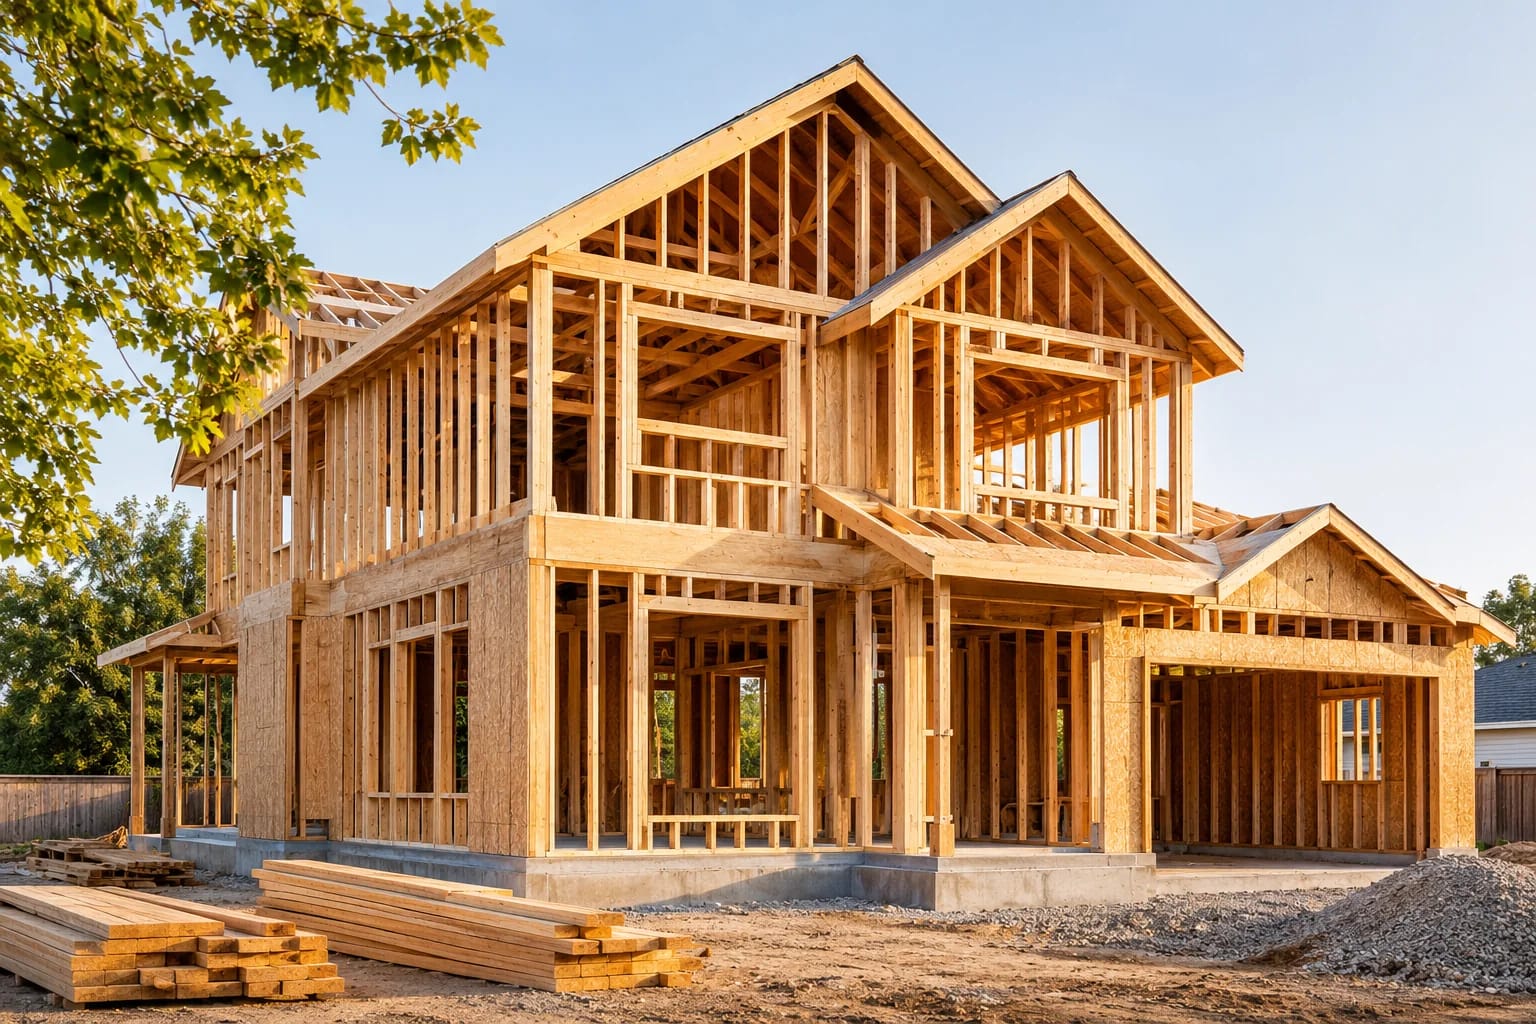
Model Context Protocol, or MCP, lets an AI assistant use other programs directly. With the community project MCP for Blender, formerly called blender-mcp, you can give an AI assistant an image of a house and ask it to build a model in Blender, one stage at a time. These steps follow the project's documentation. The pictures illustrate each stage and aren't screenshots, and we haven't published a hands-on test of this exact workflow.
Before you start
You'll need Blender, an MCP-capable AI client such as Claude Desktop, Claude Code or Codex, and the uv tool. The project lists Python 3.10 or newer as a requirement. Important: this connection lets the AI run Python inside Blender, so save your work first, use a new file and read what it's about to do.
- Blender, installed on your computer
- An MCP-capable AI client, such as Claude Desktop, Claude Code or Codex
- The uv tool, installed with its official installer
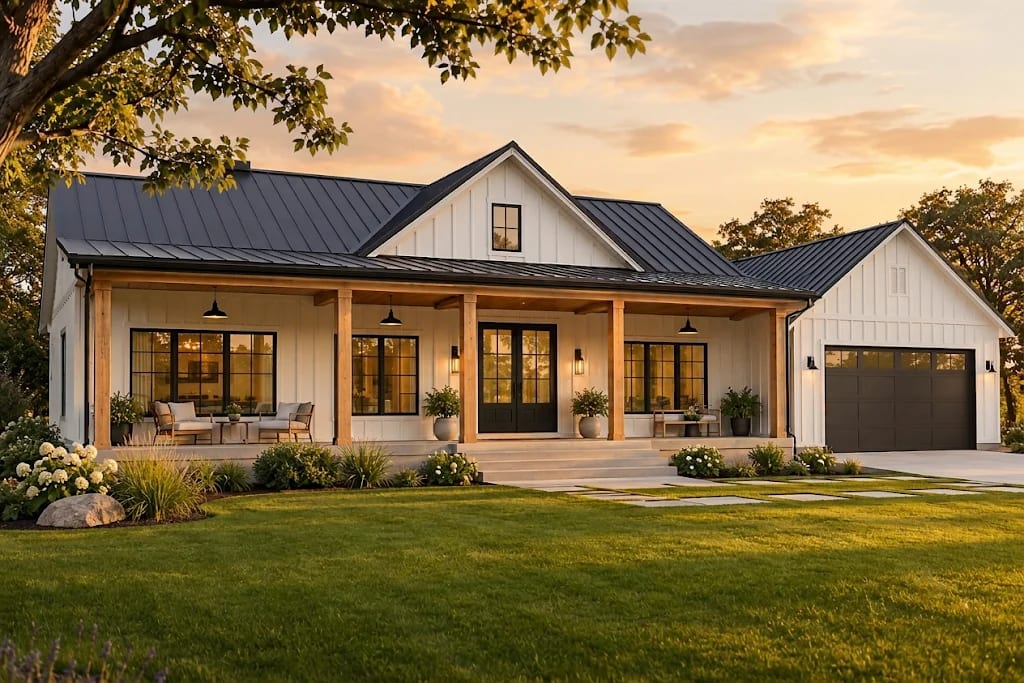
- A clear image of the house you want to model

Step 1: Create or choose your AI image
Generate a house with an image AI, or use a real photo. A clear three-quarter view works best because it shows two sides. Remember that AI images can contain impossible details, so expect to make decisions as you model.
Setting Up Blender MCP
Install the connection once, then enable it inside Blender.
Step 2: Install the connection
The project offers one command that sets up your AI apps and the Blender addon. Install uv using its official installer first, and check the project's README for the current instructions.
uvx mcp-for-blender setup

# Or set things up separately, for example with Claude Code:
claude mcp add blender uvx mcp-for-blender
uvx mcp-for-blender install-addon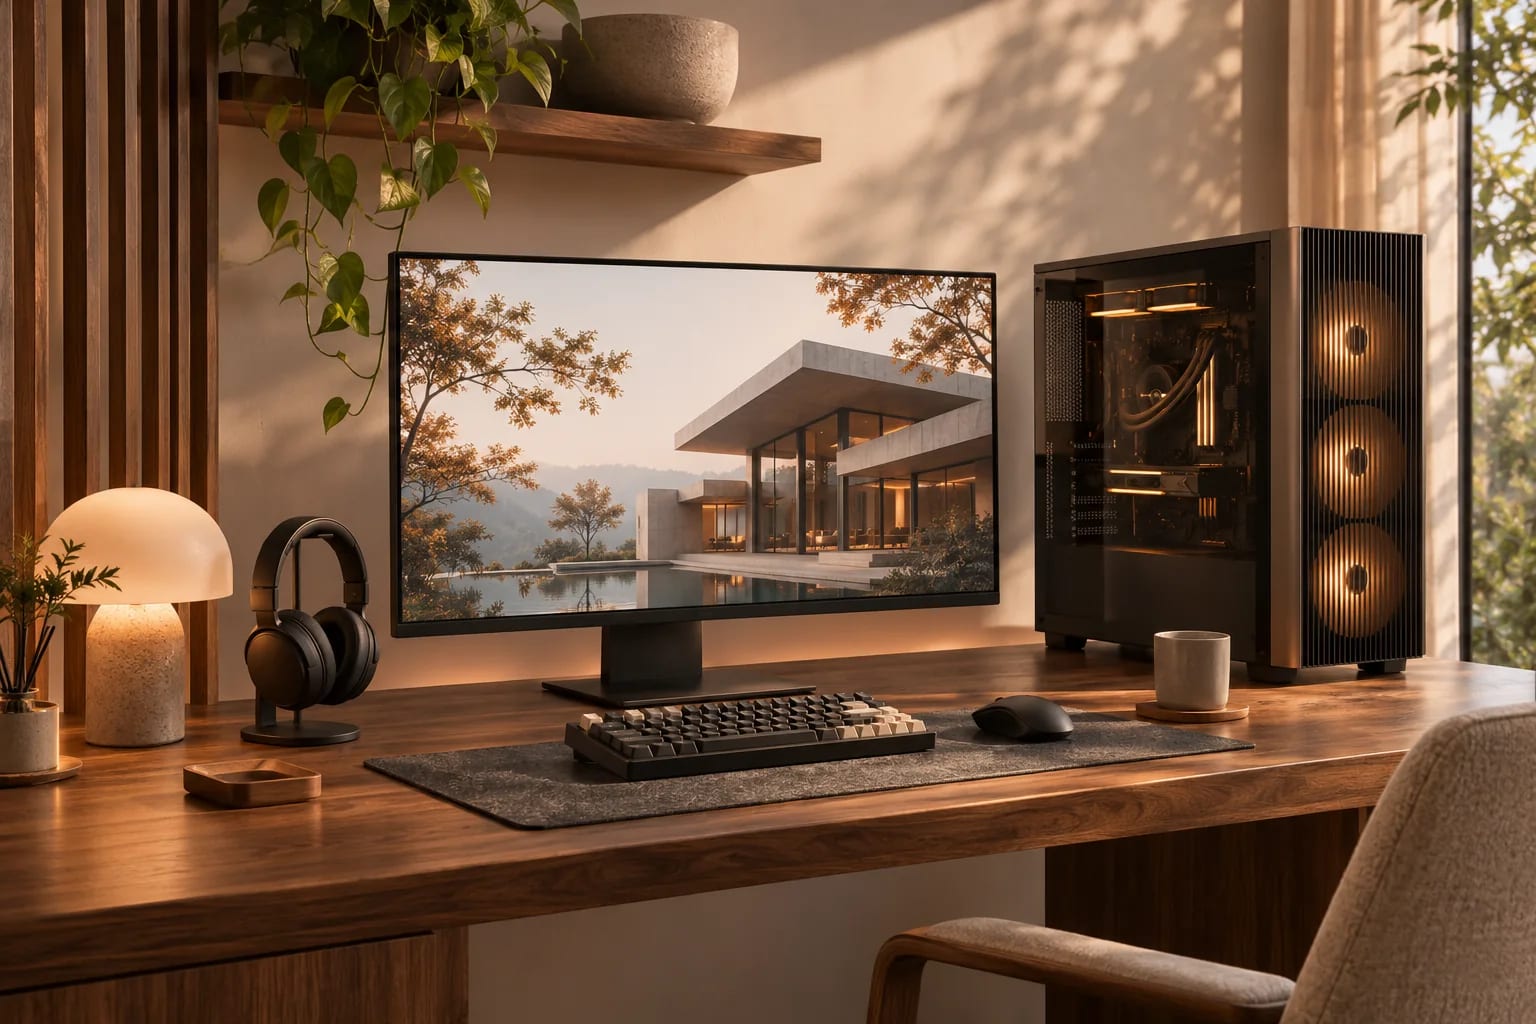
Step 3: Turn on the addon in Blender
If you installed the addon separately, go to Edit > Preferences > Add-ons and enable MCP for Blender. Then press N in the 3D viewport, open the MCP for Blender tab and click Start MCP Server if it isn't already running.
Building the House With Blender MCP
Work in stages, checking the model after each request. Small requests are easier to correct than big ones.
Step 4: Ask for simple massing first
Attach your image and ask for basic shapes before any detail. Give real dimensions if you have them. Otherwise, name a door height for the AI to scale from. Starting with blocks makes proportions easy to correct.
Using the attached house image as reference, create a new scene and model
simple massing only: main volume, garage and gabled roofs, in meters,
using a 2.1 m door height for scale. Don't add detail or materials yet.
Name every object, then show me the result.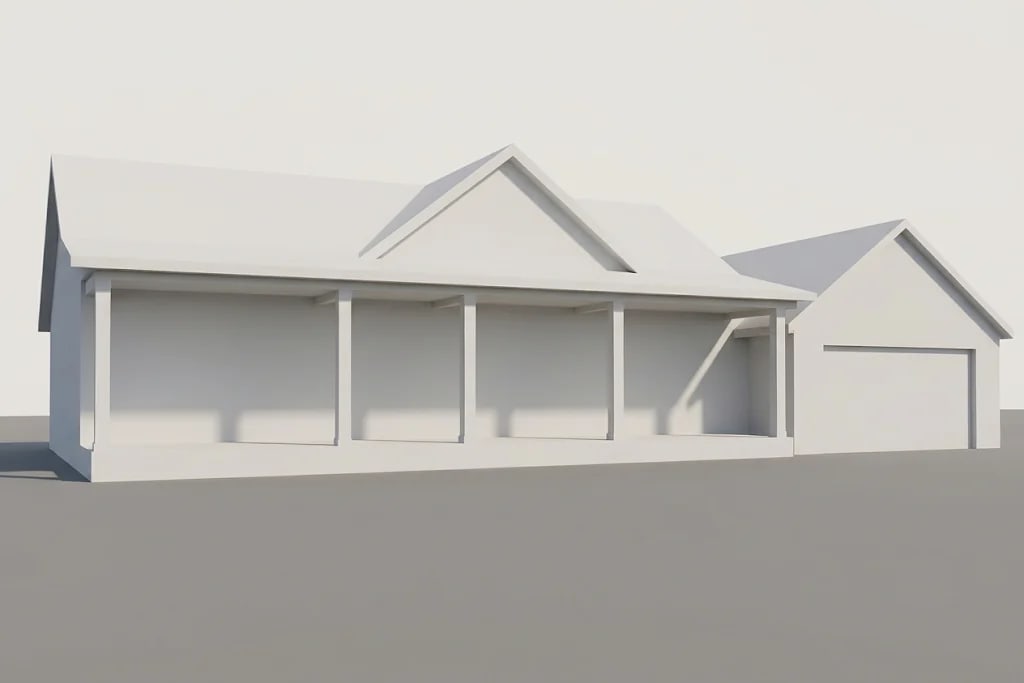
Step 5: Add openings and details
Once the proportions look right, add details in small requests, such as porch posts, windows and doors. Check each step. Small requests are easier to fix, and big ones are more likely to time out or go wrong.
Add the front porch with five timber posts, then window and door openings
matching the reference. Keep everything on named collections.
Don't change the massing.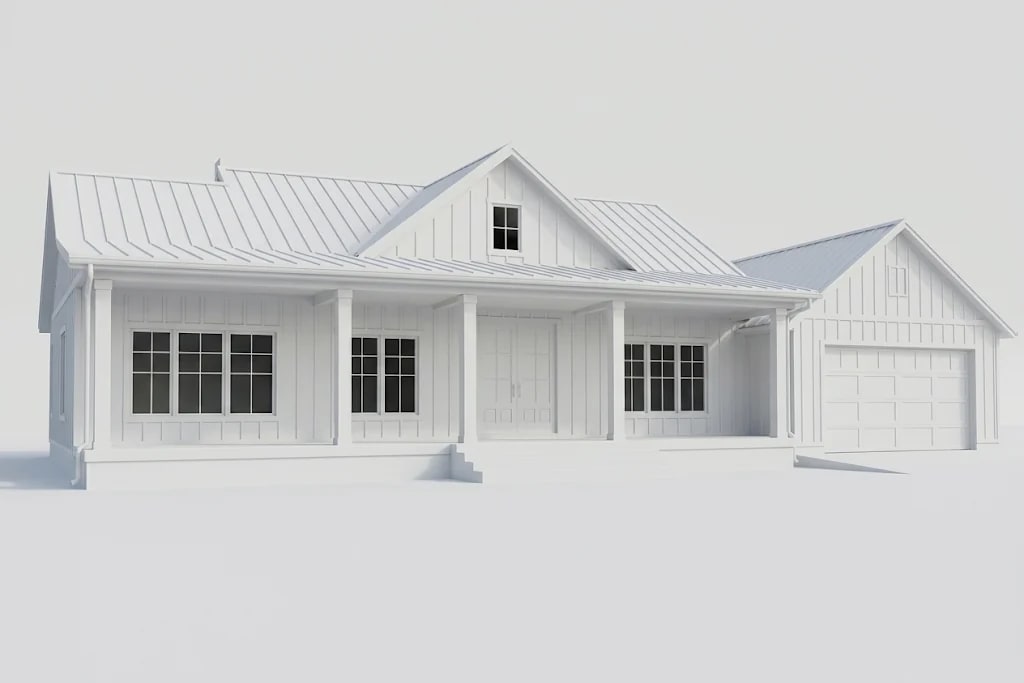
Step 6: Apply materials
Next, ask for basic materials: white siding, a black metal roof, timber and a lawn. Materials can come from free libraries such as Poly Haven, which the project can connect to.
Apply simple materials: warm white siding, black standing-seam metal roof,
timber porch posts, concrete path and lawn. Use shader nodes.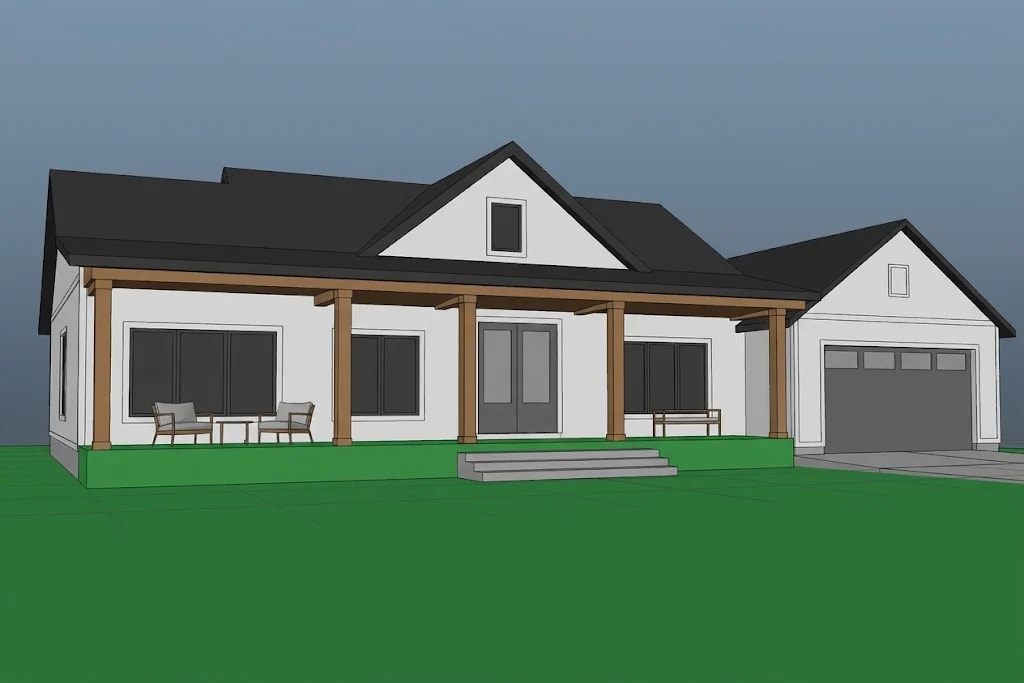
Step 7: Light and render
Finally, set up a sun for golden hour and a camera at eye level, then ask for a render. See our rendering tips for what makes an image look real.
Add low golden-hour sun and a soft sky, place a camera at eye level with
straight verticals, and render one 1920 x 1080 image.Know the limits
This produces a visual model, not a buildable design. It doesn't include structure, code checks or construction details, so bring a real project to a licensed professional. Also, run only one MCP client at a time, and if your client can't find uvx, use its full path, as the README explains.
Common Questions
What is MCP?
Model Context Protocol is an open standard that lets AI assistants connect to tools and data, such as Blender.
Is MCP for Blender safe?
It can execute Python in Blender, which is powerful. Save your work, use a fresh file, and review what your AI client wants to run. It's a community project, so read its documentation and telemetry settings.
Is it free?
The project and Blender are free to start, though your AI client may need a paid plan, and the project offers optional premium features.
Which AI clients work with Blender MCP?
MCP-capable clients such as Claude Desktop, Claude Code and Codex can connect, according to the project. Check its README for current setup steps for each client.
Can Blender MCP make a buildable house?
No. It creates a visual model, without structure, code checks or construction details. Bring any real project to a licensed professional.
From Image to 3D Model
Blender MCP lets an AI assistant build a 3D house from an image in manageable stages. Work small, check each step, and treat the result as a visual study rather than a buildable design.
Prefer SketchUp? The same approach works there.
Read the SketchUp MCP guideHow we made this guide
This guide reflects general practice and may not match every software version, so check against your own. We leave out prices because they change often, so please confirm pricing, features and license terms with the vendor. Product names belong to their owners. Suggest a correction or a product, or learn about labeled sponsorships.